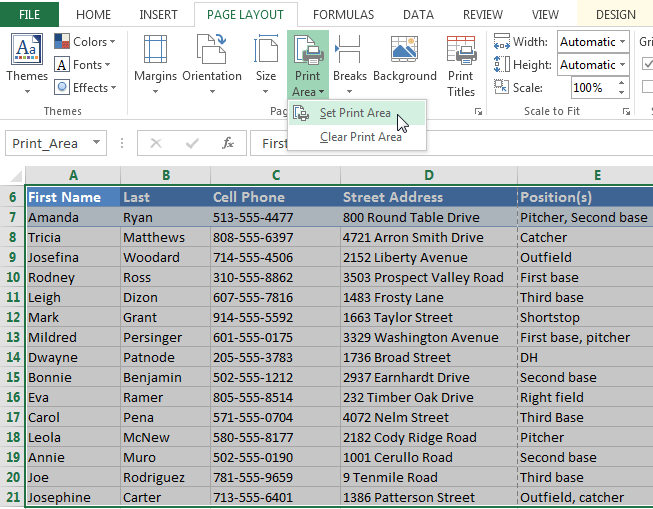
If you prefer, you can also set the print area in advance so you'll be able to visualize which cells will be printed as you work in Excel. Simply select the cells you want to print, click the Page Layout tab, select the Print Area command, then choose Set Print Area.
Fitting and scaling content
On occasion, you may need to make small adjustments from the Print pane to fit your workbook content neatly onto a printed page. The Print pane includes several tools to help fit and scale your content, such as scaling and page margins.To fit content before printing:
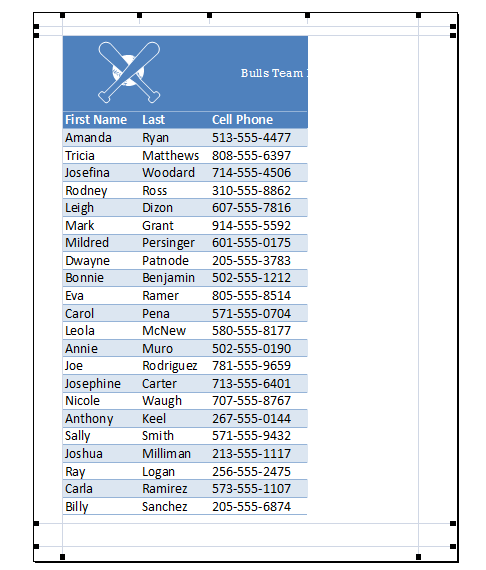
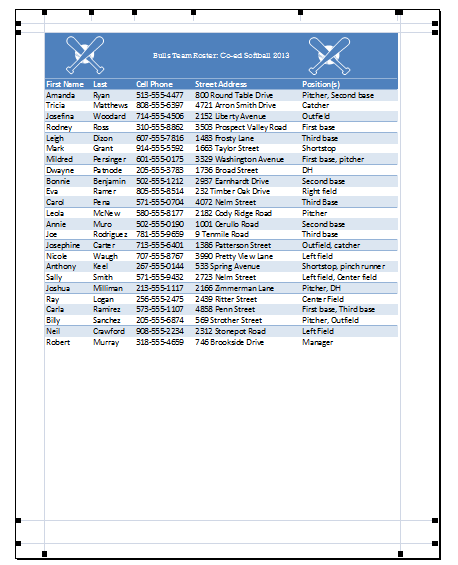
If some of your content is being cut off by the printer, you can use scaling to fit your workbook to the page automatically.- Navigate to the Print pane. In our example, we can see in the Preview pane that our content will be cut off when printed.
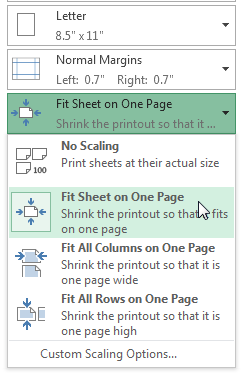
- Select the desired option from the Scaling drop-down menu. In our example, we'll select Fit Sheet on One Page.
- The worksheet will be condensed to fit onto a single page.
- When you're satisfied with the scaling, click Print.
Keep in mind that worksheets will become more difficult to read as they are scaled down, so you may not want to use this option when printing a worksheet with a lot of information.
To modify margins in the Preview pane:
Sometimes you may only need to adjust a single margin to make your data fit more comfortably. You can modify individual page margins from the Preview pane.- Navigate to the Print pane, then click the Show Margins button in the lower-right corner.
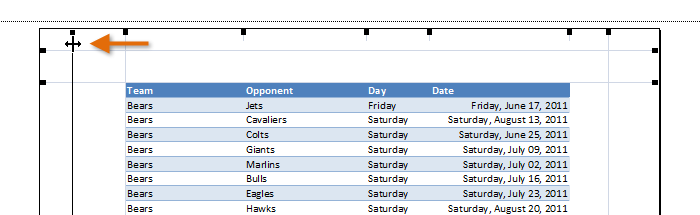
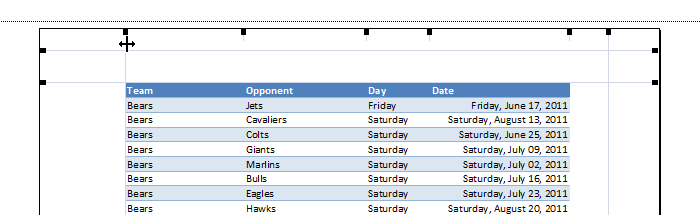
- The page margins will appear in the Preview pane. Hover the mouse over one of the margin markers
 until the cursor becomes a double arrow
  . In our example, we'll modify the left margin to fit an additional column on the page.
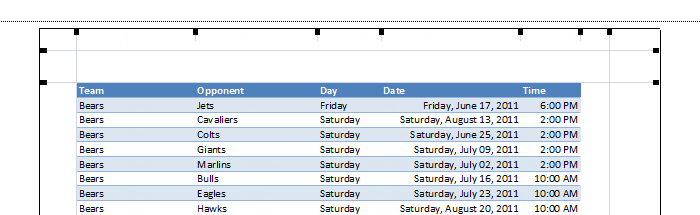
 - Click, hold, and drag the mouse to increase or decrease the margin width.
- Release the mouse. The margin will be modified. In our example, we were able to fit an additional column on the page.
No comments:
Post a Comment